Lesson 1 - Foundations
Typst = text + a compiler
Typst is a compiler a (CLI) program that creates PDFs.
The compiler will take a .typ file and create a PDF file with it. For example, a Typst file might look like this:
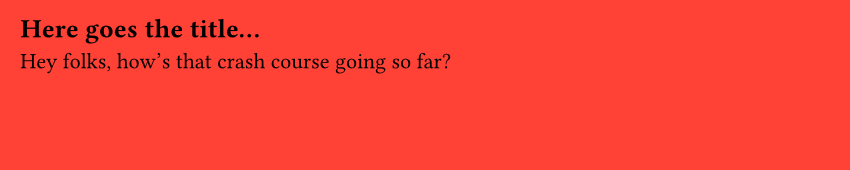
#set page(fill: red, width: 10cm, height: 3cm)

== Here goes the title...

Hey folks, how's that crash course going so far?
Then we run typst compile file.typ, and we get:
Basic syntax
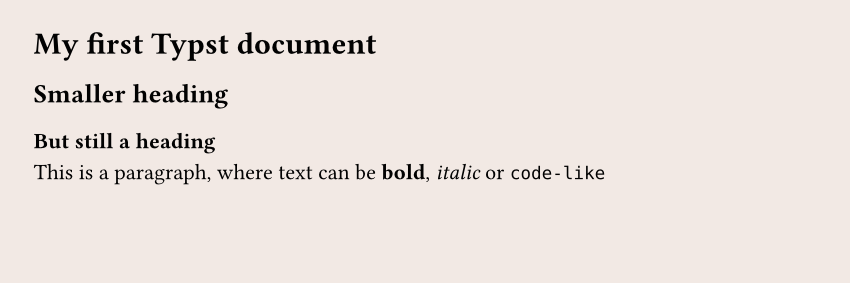
If you've ever used Markdown before, getting started with Typst will be easy. For example, the following Typst file:
= My first Typst document

== Smaller heading

=== But still a heading

This is a paragraph, where text can be *bold*, _italic_, or `code-like`.
Functions
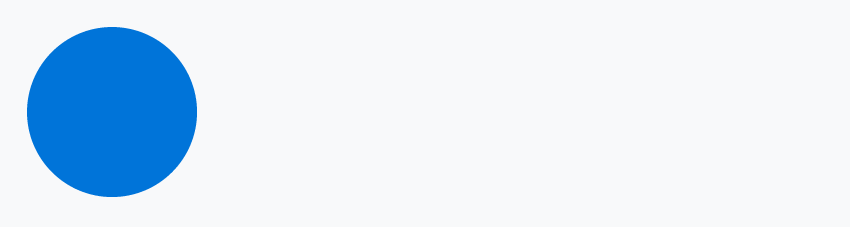
Typst offers tons of functions that we can use to customize the output of our PDF. For example, there is a circle() function:
We can, for example, add some text inside the circle:

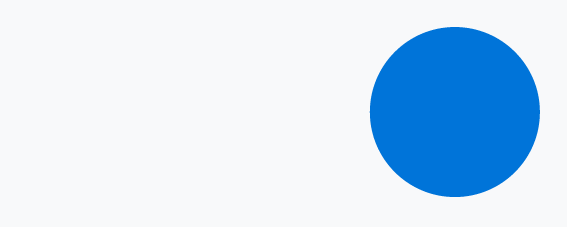
Or another circle:
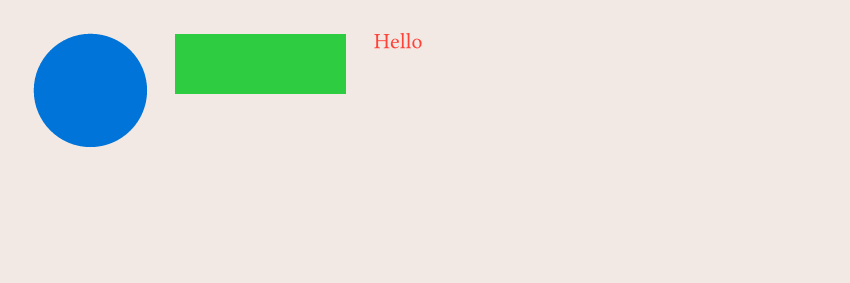
The circle() function is useful for creating visual elements, but many functions are here to control the layout of our document. For example, I want to put a blue circle next to a green rectangle, next to red text. How can I do that?
The simplest way to do it is to use the stack() function: it will stack elements (as many as we want) in a given direction.
#stack(
  dir: ltr, // direction --> left to right
  spacing: 0.5cm, // space between elements
  circle(fill: blue, width: 2cm),
  rect(fill: green, width: 3cm),
  text(fill: red, "Hello")
)
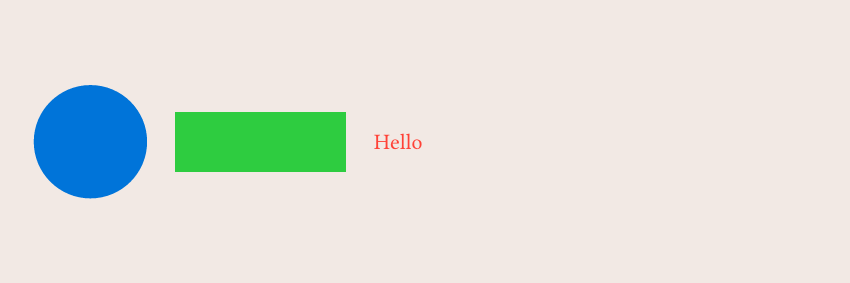
What if I want them to be vertically aligned? We wrap everything in the align() function and specify that we align to the horizon (could also be top or bottom):
#align(horizon, stack(
  dir: ltr,
  spacing: 0.5cm,
  circle(fill: blue, width: 2cm),
  rect(fill: green, width: 3cm),
  text(fill: red, "Hello"),
))
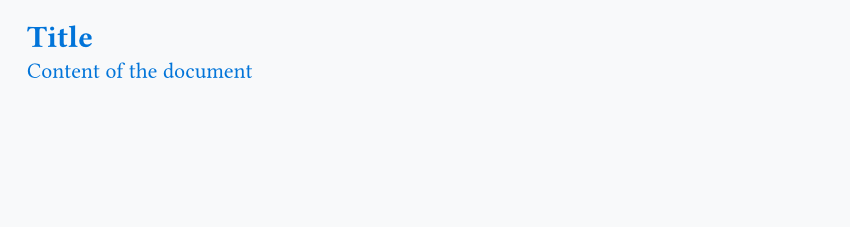
Set rules
A set rule is a way to tell Typst how a given function should behave. For example, by default the text() function uses fill: black for its color, but if we do:
Variables
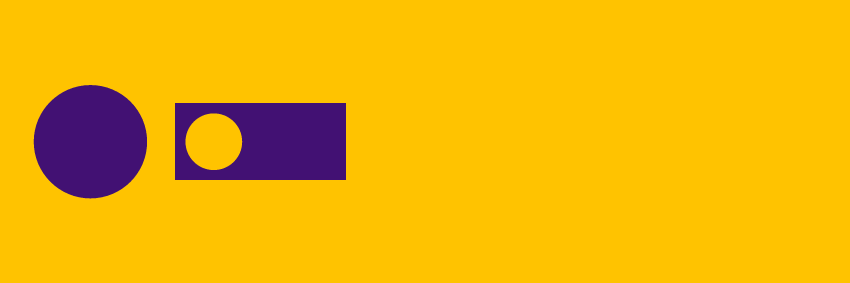
We can define variables, like in any programming language, in order to reuse them thanks to the let keyword. A common use case is to define branding colors:
#let yellow = rgb("#FFC300")
#let purple = rgb("#421173")

#set page(fill: yellow)

#align(horizon, stack(
  dir: ltr,
  spacing: 0.5cm,
  circle(fill: purple, width: 2cm),
  rect(fill: purple, width: 3cm, circle(fill: yellow, width: 1cm)),
))
When and when not to use the # symbol
One thing that might be confusing in the previous code snippets is that sometimes we use the # symbol, and sometimes we don't.
In the first case, the output is just a simple circle, while in the second case, it's the actual text instead of a circle. Why is that?
It's because Typst has 2 modes:
- Markup mode
- Code mode
By default we're in Markup mode, and we need to add the # before a function name, a set rule or when defining a new variable. But we switch to code mode in many cases:
Those are just common examples, but in practice you'll quickly find this intuitive as you start using Typst. A great way to make this simpler for you is to enable syntax highlighting in your editor. If you have a second look here, you'll see that in the second case the text is all black, meaning that it will be rendered as is.
Question
Having questions? Feedback? Feel free to ask!