Lesson 3 - Templating
Components
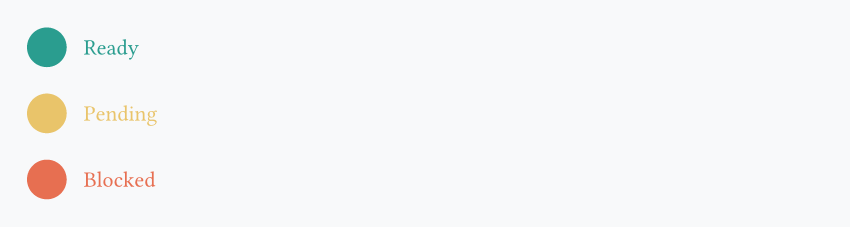
Components aren't a Typst concept, but they're probably a good way to think about functions and, more generally, about development. For example, let's look at this code:
#align(horizon, stack(
  dir: ltr,
  spacing: 0.3cm,
  circle(fill: rgb("#2a9d8f"), width: 0.7cm),
  text(fill: rgb("#2a9d8f"), "Ready"),
))

#align(horizon, stack(
  dir: ltr,
  spacing: 0.3cm,
  circle(fill: rgb("#e9c46a"), width: 0.7cm),
  text(fill: rgb("#e9c46a"), "Pending"),
))

#align(horizon, stack(
  dir: ltr,
  spacing: 0.3cm,
  circle(fill: rgb("#e76f51"), width: 0.7cm),
  text(fill: rgb("#e76f51"), "Blocked"),
))

The code is highly duplicated! Only the label and the color are changing in each element. Instead, what we want to do is:
#let custom-component(lab, col) = {
  align(horizon, stack(
      dir: ltr,
      spacing: 0.3cm,
      circle(fill: col, width: 0.7cm),
      text(fill: col, lab)
   ))
}

#custom-component("Ready", rgb("#2a9d8f"))
#custom-component("Pending", rgb("#e9c46a"))
#custom-component("Blocked", rgb("#e76f51"))
This makes our code:
- highly reusable: we can call the
custom-componentfunction many other times - easier to maintain: change the function definition to update all of its uses
Typst is really well-designed for this component mindset, and it's a good idea to use it from the beginning.
set and show rules
Our previous example could also be made using set rules (which we already saw in the first lesson). As a reminder, a set rule defines the default behavior of a function. For example, if I write:
Then, by default, all circles will have a width of 1cm. If we take our example from before:
#set stack(dir: ltr, spacing: 0.3cm)
#set circle(width: 0.7cm)

#align(horizon, stack(
  circle(fill: rgb("#2a9d8f")),
  text(fill: rgb("#2a9d8f"), "Ready"),
))

#align(horizon, stack(
  circle(fill: rgb("#e9c46a")),
  text(fill: rgb("#e9c46a"), "Pending"),
))

#align(horizon, stack(
  circle(fill: rgb("#e76f51")),
  text(fill: rgb("#e76f51"), "Blocked"),
))
Typst also has a more advanced version of set rules called show rules. Basically, show rules let us define what happens when a function is called. Let's see an example:
#show heading: set text(fill: blue)

== Hey you
Content of the document

== Another section
And the rest of the document
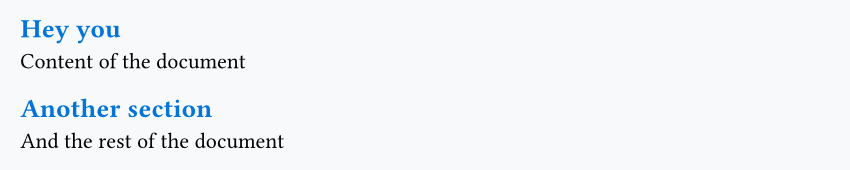
Here, our show rules say: when adding a heading, set the text to blue by default. Very practical! But what if we want to apply a different color depending on the heading level?
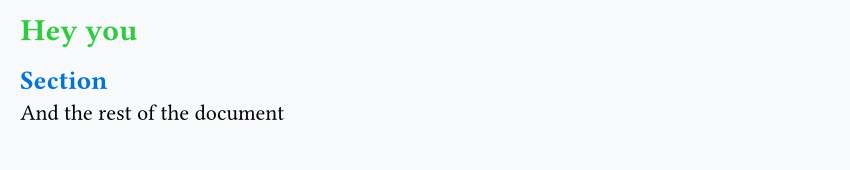
#show heading.where(level: 1): set text(fill: green)
#show heading.where(level: 2): set text(fill: blue)

= Hey you
== Section
And the rest of the document
But we can even go much further with show rules! For example:
#show heading: it => align(right)[
  #text(weight: "bold", [_The heading is_: "#it.body" (level: #it.level)])
]

= Hey you
== Section
And the rest of the document
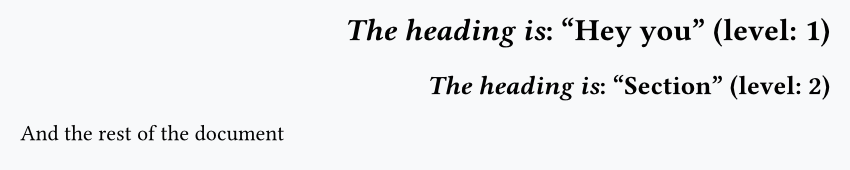
In short: we can do whatever we want! Here, it represents our heading:
it.body: the contentit.level: the heading levelit.*: this works for all other arguments in the heading function (and for all functions too)!
Show rules differ from set rules by the fact that they don't just control default arguments of a function, but how that function will behave when called, which is an extremely powerful mechanism.
Header and footer
One thing where Typst shines is minimizing code duplication: it's very rare that you need to write the same code twice, and it's often a symptom that your code should be refactored.
A good example is adding a header or footer to a Typst document.
Note
Since headers and footers behave exactly the same in Typst, we'll only showcase how to create a header here.
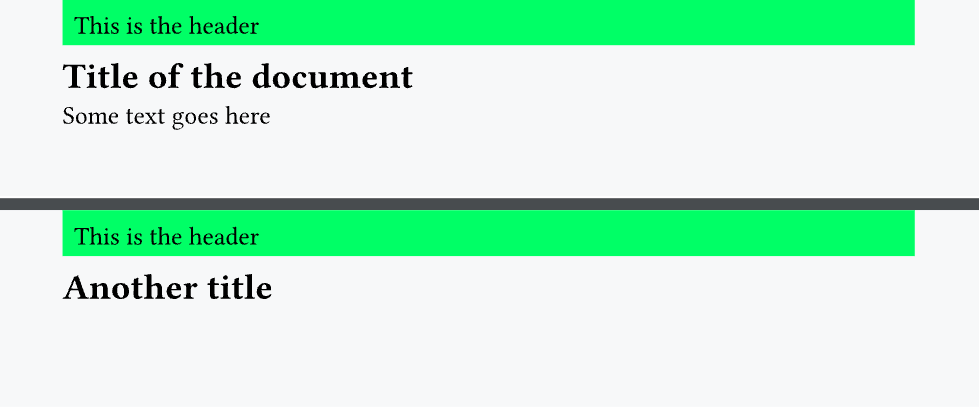
In order to have a header, we need to call a set rule on the page() function and specify the header argument:
#set page(margin: 1cm, header: {
  rect(fill: lime, height: 1cm, width: 100%, "This is the header")
})

= Title of the document
Some text goes here...

#pagebreak() // forces a new page

= Another title
Context
An important thing in Typst is the context. It is a keyword that can give us information about the current context. For example:
- what is the page number of the current page?
- what is the language of the document?
- what is the text color?
- And much more!
The main use case for context is adding the page number to the header or footer:
#set page(
  margin: 1cm,
  height: 3cm,
  width: 15cm,
  header: {
    rect(
      fill: lime,
      height: 1cm,
      width: 100%,
      [#context [This is the page #here().page() (out of #counter(page).final().at(0))]],
    )
  },
)

= Title of the document
Some text goes here...

= Another title

= Yet another title
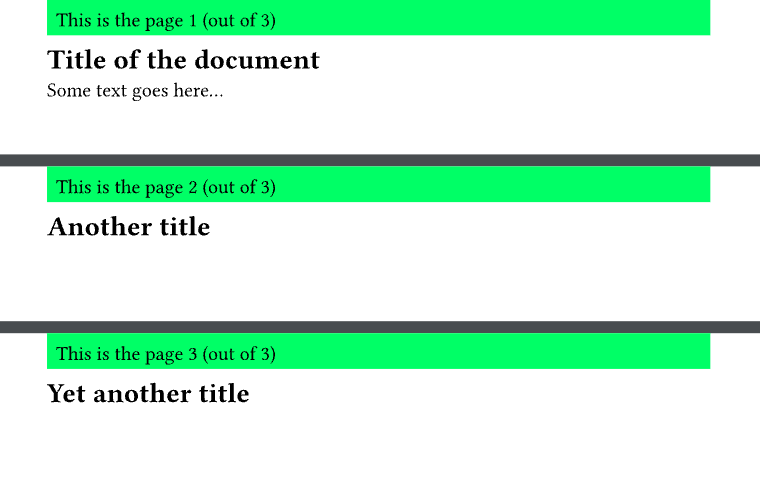
Let's summarize the key parts here:
- Everything is wrapped in
#context []. This is required; otherwise, the next function calls won't work. #here().page()gives us the current page number (either 1, 2 or 3).#counter(page).final().at(0)gives the total number of pages in the entire document (always 3).
Info
context can do even more complex things (such as counting the number of headings before its call), but this will not be detailed here as this concerns relatively few users.
Question
Having questions? Feedback? Feel free to ask!